Are you tired of wearing boring clothes from the local malls? Think of ways to spice things up in your wardrobe. Why not embellish them with embroidery patches. Adding custom made embroidery patches brings style to your wearables and make them classy and chic at the same time. There are several ways to make embroidery patches for yourself.
In this article, we are going to give you a step-by-step tutorial to help you get through this process.
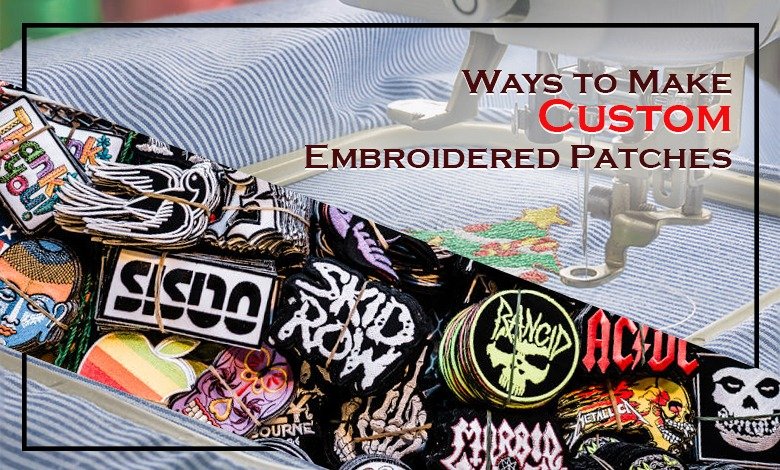
To add personality and style to your clothes, adding embroidery patches is the most convenient way. Custom embroidered patches are the most trendy fashion accessory you might have seen. Let’s begin with the tutorial.
Iron-On Patches
These types of embroidered patches are the easiest and quick to apply. Select your preferred pattern of embroidery that you want to adorn your clothing with. Stitch the design on the fabric and put it on the top of a piece of paper-backed fusible web.
Stitch around the design and cut the remaining paper that is dangling around. When you need to iron it on your desired fabric, just put it on the clothing and iron it from the backside of the fabric you are attaching.
Furthermore, just take precautions to keep your iron on high enough temperature for the heat to seep through the layers of fabric.
Removable Pin Patches
These types of embroidery patches are renewable as you can replace them from one piece of clothing to another. For it, you will need a piece of embroidered fabric, preferably felt, because it is thicker and will retain its shape even after the pic is attached.
Take another piece of fabric the same size as that of the initial design. Sew a bar-style safety pin is a size that is in proportion to the patch. Now sew these two pieces of fabric together.
Remember to keep the safety pin on the outer side. You can attach this embroidery patch to any article of clothing that you like and even remove it later on.
Felt Sew-On Patches
You can embroider your design on the felt using a needle and thread. First, mark the design using tracing paper. After you have finished the embroidery, cut around the design using sharp scissors. Now stitch around the design using a blanket stitch or whip stitch.
Behold, your felt sew-on embroidery. There are many tutorials available on the web if you want any help in this regard.
Self-Adhesive Patches
One of many ways to make embroidery patches is using self-adhesive patches. Think of these as permanent stickers on your clothing. You will need the fabric with the embroidery design which you have selected, a heavy stabilizer, and peel and stick adhesive for fabrics.
Trim around the embroidery design and run a blanket stitch around the design. Attach a sheet of fabric adhesive on the back of this design. Your patch is ready to use. Whenever you want to wear it, peel off the back of the sticker and stick it onto your clothes. Furthermore, don’t forget to follow the precautions.
Conclusion
We have relayed a step-by-step instruction set on different ways to make embroidered patches. You can easily make them for yourself or gift them to people near and dear to you. We hope you have a fun time doing this activity. Happy patching!